Perfect Grilled Pizza Recipe – Easy Steps
How to Make the Perfect Grilled Pizza: Forget soggy bottoms and unevenly cooked toppings! Today, we’re diving headfirst into the smoky, blistered, and utterly irresistible world of grilled pizza. There’s something truly magical about pizza kissed by the flames of a grill – a distinct char, a delightful chew, and a depth of flavor that oven-baked varieties simply can’t replicate. It’s an outdoor culinary adventure that brings friends and family together, turning a simple meal into a memorable experience. Whether you’re a seasoned grill master or a curious begin extractner, mastering the art of the perfect grilled pizza is an achievable and incredibly rewarding endeavor.
Why You’ll Love This Grilled Pizza
The secret to incredible grilled pizza lies in harnessing the high heat of the grill to create a beautifully crisp crust with those coveted leopard spots, while simultaneously melting your cheese to gooey perfection. It’s a quick, dynamic cooking method that infuses every bite with a delightful smoky essence. Plus, the sheer versatility is astounding – load it up with classic beef pepperoni, or get adventurous with seasonal vegetables and artisanal cheeses. Get ready to elevate your pizza game with this foolproof guide to crafting the perfect grilled pizza.
How to Make the Perfect Grilled Pizza
There’s something undeniably special about homemade pizza. The aroma, the satisfying chew of the crust, the melted cheese… it’s a culinary hug. But taking your pizza game to the next level, to that perfect, slightly smoky, wonderfully crispy grilled masterpiece? That’s a game-changer. Forget soggy bottoms or burnt edges from a home oven that just can’t quite get there. Grilling pizza is surprisingly simple and yields results that will have your friends and family beggin extractg for more.
The secret to great grilled pizza lies in a few key techniques and, of course, the right ingredients. We’re going to walk through it step-by-step, so even if you’re new to grilling, you’ll be making pizzeria-worthy pies in no time.
Ingredients:
Preparing Your Workspace and Dough
Before we even think about firing up the grill, it’s crucial to have everything prepped. This is key to a smooth and stress-free pizza-making experience. First, make sure your pizza dough is at room temperature. This will make it much easier to stretch and prevent it from snapping back. If you’re using store-bought dough, take it out of the refrigerator at least an hour before you plan to start.
Next, prepare your toppings. Slice any vegetables, cook any meats that need pre-cooking (like sausage or beef bacon), and have everything within easy reach. Grilling pizza moves quickly, so you don’t want to be scrambling for ingredients when your dough is on the heat.
Now, for the dough itself. Lightly flour a clean surface. You can also use cornmeal; it adds a nice texture and helps prevent sticking. Gently begin extract to stretch your dough. You can use your hands, a rolling pin, or even the back of your knuckles. Aim for a circle or an oblong shape, about 10-12 inches in diameter, and about 1/4 inch thick. Don’t worry if it’s not perfectly round; rustic is the name of the game with grilled pizza.
Grilling the Crust: The Foundation
This is where the magic begin extracts. You want to get your grill nice and hot. Preheat your grill to medium-high heat (around 400-450°F). Make sure your grill grates are clean to prevent sticking. A good scrub with a grill brush is essential.
Now, lightly brush one side of your stretched pizza dough with olive oil. This oiled side will be the side that hits the grill first. This oil helps create a beautiful, crispy crust and prevents the dough from sticking to the grates.
Carefully transfer the dough, oiled-side down, onto the hot grill grates. Close the lid and let it cook for about 2-3 minutes. You’re looking for those tell-tnon-alcoholic ale grill marks and a nicely puffed-up, lightly browned surface on the underside. This initial cook is crucial for developing that signature grilled pizza texture.
Flipping and Topping
Once the bottom of the dough has a good char and is starting to firm up, it’s time to flip it. Use a sturdy spatula or two to carefully lift and flip the dough. The uncooked side is now facing up.
Working quickly but carefully, brush the grilled side of the dough with a thin layer of olive oil. Then, spread your pizza sauce evenly over the grilled surface, leaving a small border for the crust. Don’t overload it with sauce, or your pizza might become soggy.
Now, sprinkle generously with mozzarella cheese. Add your favorite toppings. Remember that the pizza will continue to cook on the grill, so avoid overloading it, which can lead to uneven cooking and a soggy center. Some people prefer to add delicate toppings like fresh basil after the pizza is off the grill.
The Final Cook: Melting and Finishing
Close the grill lid again and cook for another 3-5 minutes, or until the cheese is melted and bubbly and the crust is golden brown and cooked through. Keep an eye on it, as grilling can be unpredictable. The heat can fluctuate, and you don’t want to burn the bottom while the cheese is still unmelted.
If you find that the crust is cooking faster than the cheese is melting, you can reduce the heat on your grill to medium or even move the pizza to a cooler part of the grill. Some people also like to move the pizza to an indirect heat zone or even finish it in the oven if their grill lid doesn’t retain heat well enough.
Serving Your Masterpiece
Once your grilled pizza is perfectly cooked, carefully slide it off the grill using your spatula. Let it rest for a minute or two before slicing. This allows the cheese to set slightly, making it easier to cut and serve. Slice with a pizza cutter or a sharp knife and enjoy the incredible flavor and texture of your homemade grilled pizza. The slight char from the grill, the smoky notes, and the perfectly crispy crust are truly unbeatable. This method is fantastic for a casual weeknight dinner or a fun weekend gathering. Enjoy!
Conclusion:
You’ve now unlocked the secrets to making the perfect grilled pizza! This method delivers a delightfully smoky char and a wonderfully crisp crust that simply can’t be replicated in a conventional oven. The beauty of grilled pizza lies in its simplicity and the incredible versatility it offers. Imagin extracte the satisfaction of biting into your own creation, knowing you’ve mastered this fantastic technique.
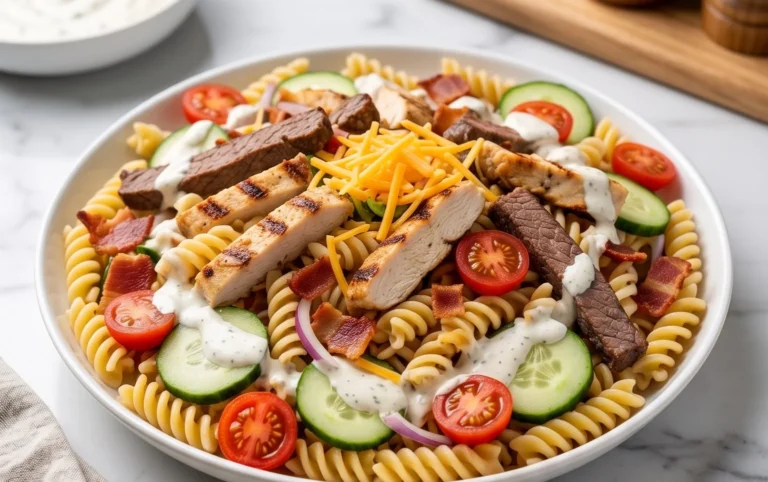
This recipe is fantastic because it’s relatively quick, uses minimal dishes, and transforms your backyard grill into a gourmet pizza oven. For serving, I love a simple side salad with a light vinaigrette to balance the richness of the pizza. Consider serving it as an appetizer at your next gathering or as a fun, interactive main course where everyone can customize their own toppings.
Don’t be afraid to get creative with your toppings! Beyond the classics, try roasted vegetables like asparagus and bell peppers, or a spicy beef chorizo with manchego cheese. For a sweet twist, a fig and beef prosciutto pizza with a balsamic glaze is divine. I truly encourage you to give this a try; the results are incredibly rewarding!
Frequently Asked Questions:
What kind of grill is best for making pizza?
Both charcoal and gas grills work wonderfully for grilled pizza. Charcoal grills tend to impart a deeper smoky flavor, while gas grills offer more precise temperature control, which can be easier for begin extractners. Ultimately, consistent medium-high heat is the key, regardless of your grill type.
How do I prevent the dough from sticking to the grill grates?
Ensuring your grill grates are clean and well-oiled is crucial. Before placing the dough, lightly brush the grates with a high-heat oil like canola or vegetable oil. Also, make sure the dough itself is lightly floured on the bottom. Once the dough has cooked for a minute or two and developed a slight crust, it should release easily.
Can I prepare the pizza dough ahead of time?
Absolutely! Pizza dough can be made up to two days in advance and stored in the refrigerator. Just be sure to let it come to room temperature for about 30-60 minutes before you plan to grill it, as cold dough can be more difficult to stretch and cook evenly.
The Perfect Grilled Pizza
Master the art of grilling pizza for a smoky, crispy crust and perfectly melted toppings. This recipe is your guide to outdoor pizza perfection.
Ingredients
-
Pizza dough
-
Olive oil
-
Marinara sauce
-
Shredded mozzarella cheese
-
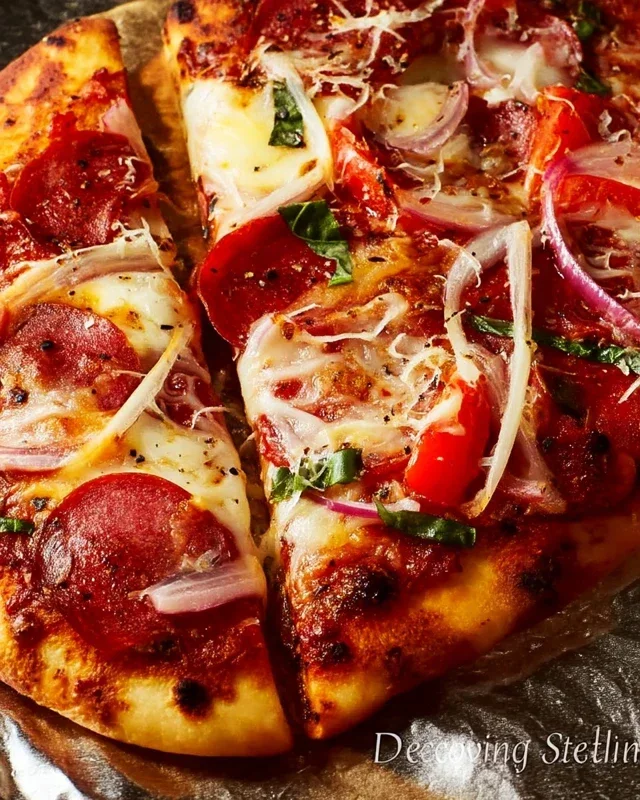
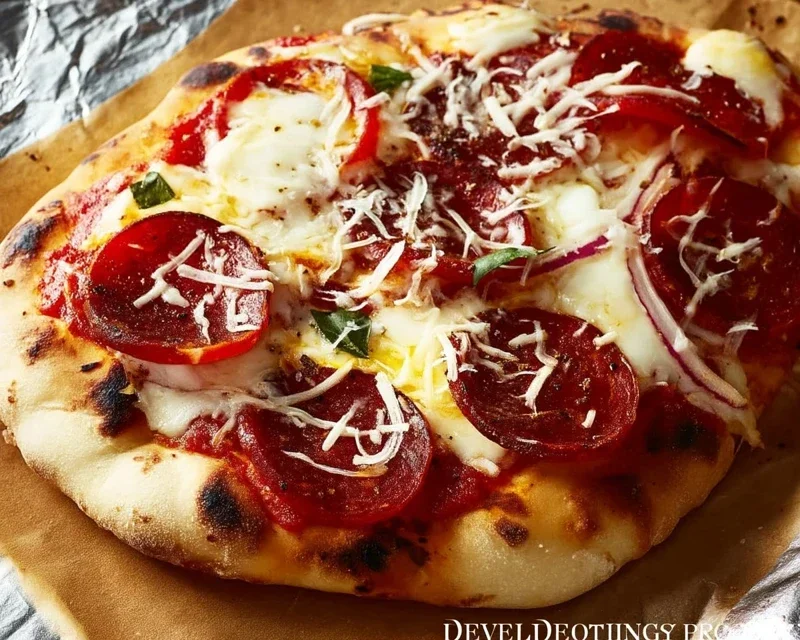
Pepperoni slices
-
Fresh basil leaves
Instructions
-
Step 1
Preheat your grill to medium-high heat. Lightly oil the grill grates. -
Step 2
Stretch or roll out your pizza dough to your desired thickness and shape. -
Step 3
Brush one side of the dough lightly with olive oil. Place the oiled side down on the preheated grill. -
Step 4
Grill for 2-4 minutes, or until the bottom is golden brown and has grill marks. Flip the dough. -
Step 5
Quickly spread marinara sauce over the grilled side of the dough, leaving a small border for the crust. Top with mozzarella cheese and pepperoni. -
Step 6
Close the grill lid and cook for another 3-5 minutes, or until the cheese is melted and bubbly and the crust is cooked through. -
Step 7
Remove the pizza from the grill. Garnish with fresh basil leaves before slicing and serving.
Important Information
Nutrition Facts (Per Serving)
It is important to consider this information as approximate and not to use it as definitive health advice.
Allergy Information
Please check ingredients for potential allergens and consult a health professional if in doubt.