Creamy Garlic Chicken Recipe – Easy & Delicious
Creamy Garlic Chicken. Oh, how I adore this dish! It’s the kind of meal that whispers comfort and shouts indulgence all at once. If you’re searching for a recipe that’s both incredibly satisfying and surprisingly simple to prepare, look no further. This Creamy Garlic Chicken is a true crowd-pleaser, a dish that brings a smile to everyone’s face. What makes it so special? It’s that magical marriage of tender chicken swimming in a luscious, velvety sauce, infused with the pungent, aromatic charm of garlic. It’s the perfect antidote to a long day, elegant enough for guests, yet comforting enough for a weeknight treat. Get ready to transform your dinner table with this irresistible classic.
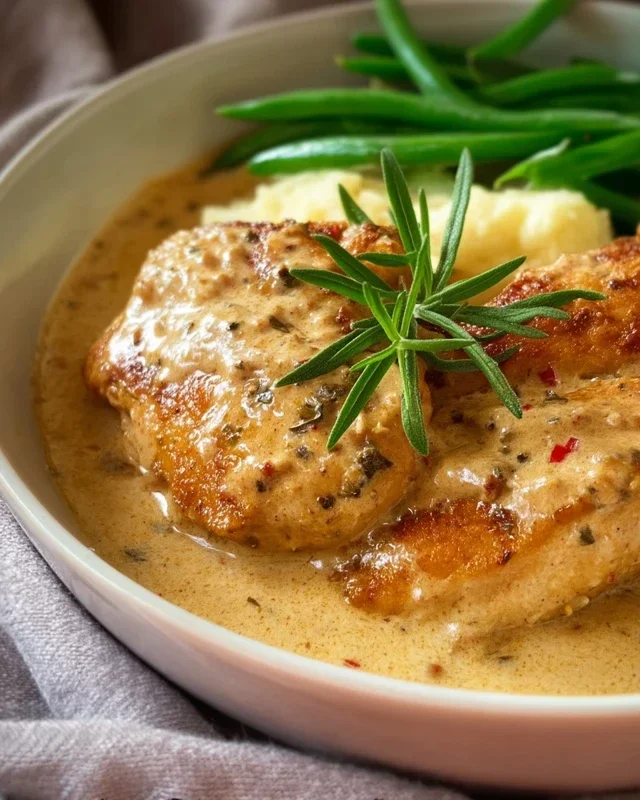
Creamy Garlic Chicken
This Creamy Garlic Chicken recipe is an absolute winner in my kitchen. It’s incredibly flavorful, surprisingly quick to make, and uses simple ingredients you likely already have on hand. The sauce is rich, garlicky, and utterly decadent, coating tender chicken breasts beautifully. It’s perfect for a weeknight meal that feels special, or even for entertaining guests. I love how the creamy sauce clings to every bite, making each mouthful a delightful experience. Let’s get started and create some magic!
Ingredients:
Cooking Instructions
Here’s how we’re going to bring this delicious Creamy Garlic Chicken to life, step-by-step.
Step 1: Prepare and Season the Chicken
First, let’s get our chicken ready. Take your boneless, skinless chicken breasts and, using a sharp knife, carefully slice them horizontally. This technique is often called butterflying or creating thin steaks. It’s crucial because it ensures the chicken cooks evenly and quickly, preventing it from becoming dry or tough. Once sliced, place the chicken pieces between two sheets of parchment paper or plastic wrap. Gently pound them with a rolling pin or the flat side of a meat mallet to an even thickness, about ½ inch. This also helps tenderize the meat.
Now, it’s time for seasoning. In a shallow dish or directly on a clean plate, combine the salt, freshly cracked black pepper, sweet paprika, onion powder, and dried thyme. This blend of spices will infuse the chicken with a wonderful aroma and subtle warmth. Dredge each piece of chicken in this spice mixture, ensuring it’s coated on all sides. This initial seasoning is the foundation of our flavor.
Step 2: Sear the Chicken to Golden Perfection
Heat your olive oil and the first tablespoon of unsalted butter in a large skillet or frying pan over medium-high heat. You want the pan to be hot enough to create a beautiful sear, but not so hot that it burns the butter. Once the butter is melted and the oil is shimmering, carefully add the seasoned chicken pieces to the hot pan. Don’t overcrowd the pan; if necessary, cook the chicken in batches to ensure each piece gets a good sear.
Let the chicken cook undisturbed for about 3-4 minutes per side, or until it’s golden brown and cooked through. The searing process locks in the juices and builds a fantastic base of flavor. Once cooked, remove the chicken from the skillet and set it aside on a clean plate. Tent it loosely with foil to keep it warm while we prepare the creamy garlic sauce.
Step 3: Build the Flavorful Cream Sauce Base
Now, let’s make that incredible sauce! In the same skillet you used for the chicken (no need to clean it – those browned bits are pure flavor gold!), add the second tablespoon of unsalted butter. Melt it over medium heat. Once melted, add your freshly minced garlic. Cook the garlic for about 1 minute, stirring constantly, until it’s fragrant but not browned. Burnt garlic can turn bitter, so keep a close eye on it.
Next, sprinkle the all-purpose flour over the garlic and butter. Stir it in well to create a smooth paste, often called a roux. Cook this mixture for another 1-2 minutes, stirring constantly. This step cooks out the raw flour taste and will help thicken our sauce beautifully.
Step 4: Deglaze and Simmer the Sauce
Pour in the chicken stock. As you pour, scrape the bottom of the pan with your whisk or a wooden spoon to loosen all those delicious browned bits left from searing the chicken. This is called deglazing and it adds so much depth of flavor to the sauce. Bring the mixture to a simmer, whisking continuously until it starts to thicken slightly.
Now, it’s time for the star of the sauce: the cream! Pour in the thickened cream and add the Dijon mustard. Stir everything together until well combined. The Dijon mustard adds a wonderful tang that cuts through the richness of the cream and complements the garlic perfectly. Continue to simmer the sauce gently over medium-low heat, stirring occasionally, for about 5-7 minutes, or until it has thickened to your desired consistency. You want it to be rich and luscious enough to coat the back of a spoon.
Step 5: Finish and Serve the Creamy Garlic Chicken
Once the sauce has reached your desired thickness, stir in the grated Parmesan cheese. Keep stirring until the cheese is completely melted and incorporated into the sauce. The Parmesan adds a salty, nutty depth that elevates the entire dish. Taste the sauce and adjust seasoning if necessary – you might need a pinch more salt or pepper.
Gently return the seared chicken pieces to the skillet, nestling them into the creamy garlic sauce. Spoon some of the sauce over the chicken. Let the chicken simmer in the sauce for another 2-3 minutes, just to heat through and allow the flavors to meld beautifully.
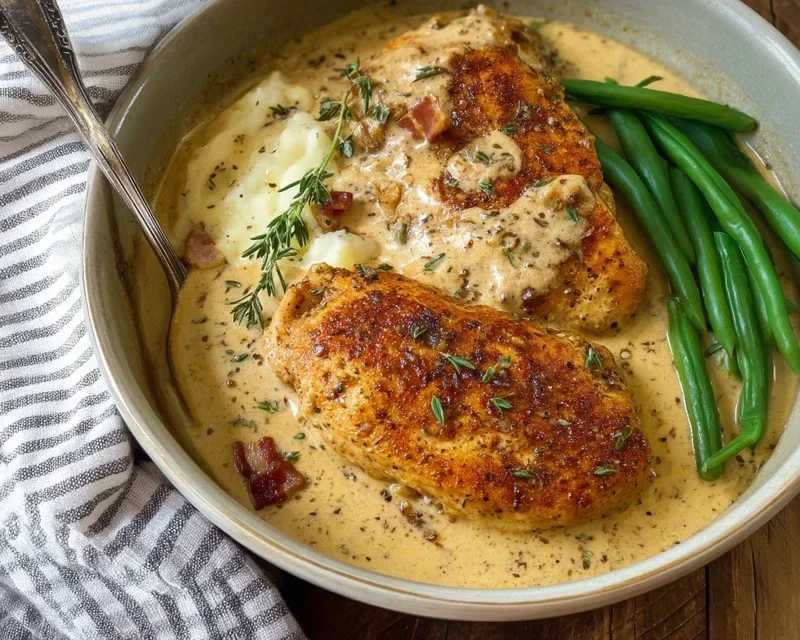
Serve immediately. This Creamy Garlic Chicken is absolutely divine served over pasta, rice, mashed potatoes, or with a side of crusty bread to soak up all that glorious sauce. Enjoy this incredibly satisfying and flavorful meal!
Conclusion:
I hope you’ve enjoyed learning how to create this incredibly satisfying Creamy Garlic Chicken! This recipe is truly a winner because it delivers on both flavor and simplicity. In just a short amount of time, you can transform humble chicken breasts into a restaurant-quality dish that will have everyone asking for seconds. The rich, garlicky cream sauce is so decadent and pairs beautifully with the tender chicken. It’s the perfect weeknight meal when you’re craving something comforting and delicious without a lot of fuss.
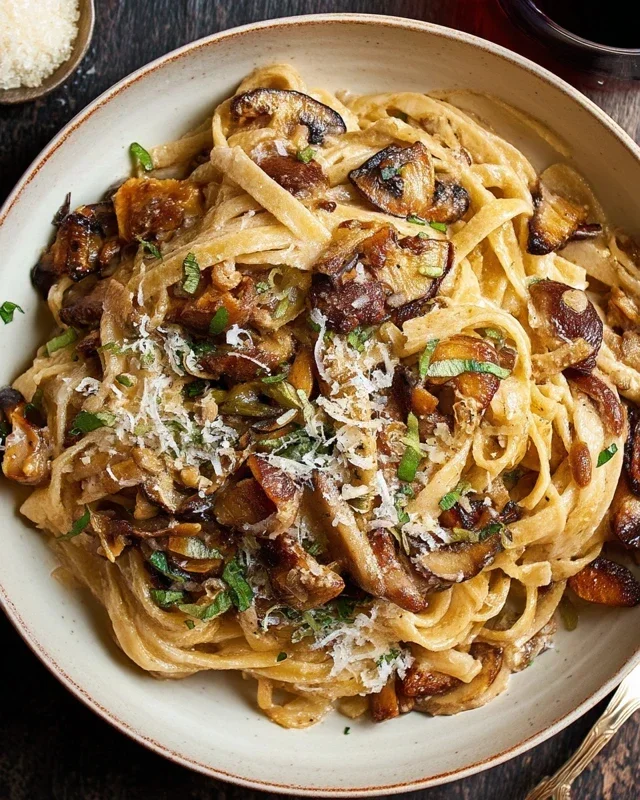
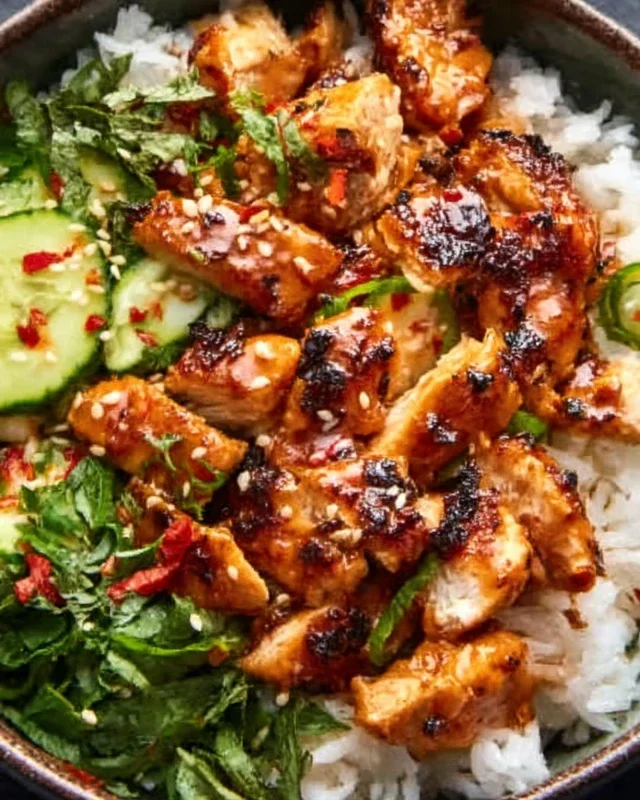
For serving suggestions, this Creamy Garlic Chicken is absolutely divine over a bed of fluffy white rice to soak up all that luscious sauce. It’s also fantastic with pasta, mashed potatoes, or even a side of crusty bread for dipping. If you’re looking to mix things up, consider adding some sautéed mushrooms or spinach to the sauce for extra flavor and nutrition. You could also swap the chicken breasts for thighs for an even richer taste. I truly encourage you to give this recipe a try – I’m confident it will become a new favorite in your culinary rotation!
Frequently Asked Questions:
Can I make this recipe ahead of time?
Yes, you can prepare the sauce and cook the chicken ahead of time. However, for the best texture and flavor, I recommend reheating everything gently on the stovetop, adding a splash of broth or cream if needed to loosen the sauce. It’s best enjoyed fresh.
What if I don’t like garlic?
While garlic is a star in this dish, you can certainly reduce the amount to your preference. Start with fewer cloves and taste the sauce as it cooks. You could also experiment with adding other herbs like parsley or chives for a different flavor profile.
Creamy Garlic Chicken
A quick and easy recipe for tender, pan-seared chicken breasts coated in a rich, creamy garlic sauce with parmesan.
Ingredients
-
2 boneless, skinless chicken breasts, cut in half horizontally to make thinner steaks
-
1 tsp salt
-
1/4 tsp freshly cracked black pepper
-
1 tsp sweet paprika
-
1 tsp onion powder
-
1 tsp dried thyme
-
35 g plain (all-purpose flour)
-
1 tbsp olive oil
-
1 tbsp unsalted butter
-
1 tbsp unsalted butter
-
1 tbsp freshly minced garlic
-
125 ml chicken stock
-
300 ml thickened (whipping/heavy) cream
-
1 tsp dijon mustard
-
50 g grated parmesan
Instructions
-
Step 1
Season the chicken breasts with salt, pepper, paprika, onion powder, and thyme. Dredge lightly in the flour, shaking off any excess. -
Step 2
Heat olive oil and 1 tbsp butter in a large skillet over medium-high heat. Add chicken and cook for 3-4 minutes per side, until golden brown and cooked through. Remove chicken from skillet and set aside. -
Step 3
Add the remaining 1 tbsp butter to the skillet. Add the minced garlic and sauté for 1 minute until fragrant. -
Step 4
Pour in the chicken stock and scrape up any browned bits from the bottom of the pan. Bring to a simmer and cook for 2 minutes. -
Step 5
Stir in the thickened cream and dijon mustard. Bring to a gentle simmer and cook for 5 minutes, stirring occasionally, until the sauce has thickened slightly. -
Step 6
Stir in the grated parmesan cheese until melted and the sauce is smooth. Season with additional salt and pepper to taste. -
Step 7
Return the chicken to the skillet and spoon the sauce over it. Simmer for 1-2 minutes to heat through.
Important Information
Nutrition Facts (Per Serving)
It is important to consider this information as approximate and not to use it as definitive health advice.
Allergy Information
Please check ingredients for potential allergens and consult a health professional if in doubt.