Easy Clay Pie Recipe- Simple Steps To Make It
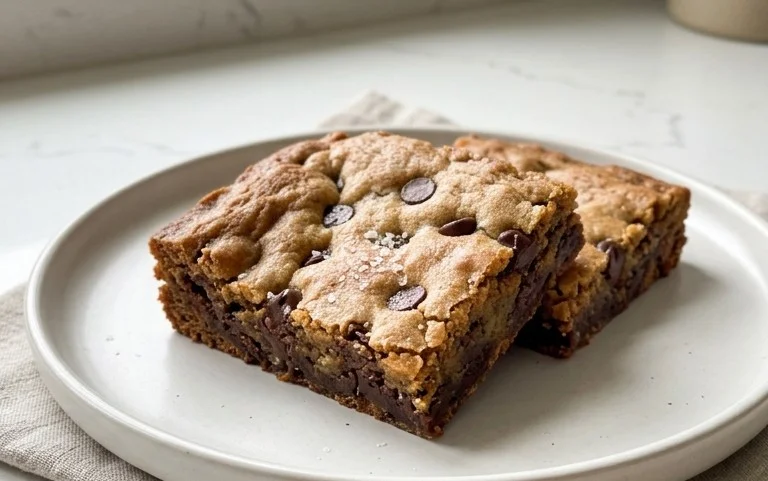
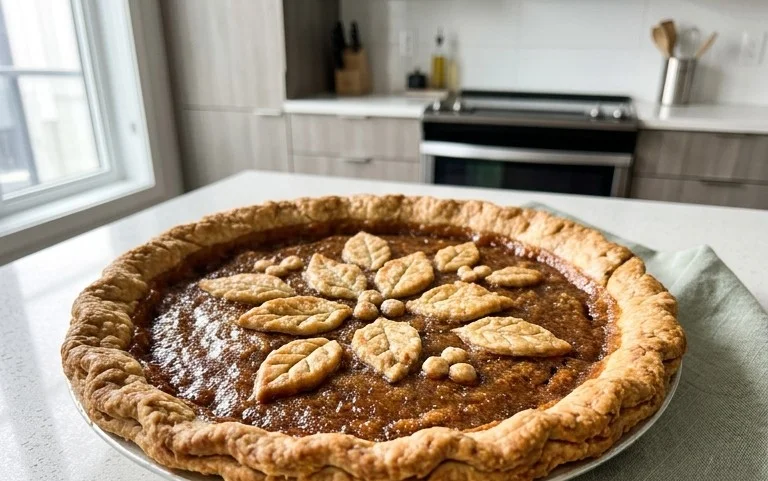
How to Make a Clay Pie. Have you ever craved a dessert that’s both wonderfully rustic and surprisingly satisfying? Then it’s time to dive into the delightful world of clay pie! This isn’t your average sweet treat; a clay pie offers a unique texture and a comforting, almost earthy flavor that’s utterly addictive. People adore this dish for its simplicity and its ability to transport you back to a time of honest, home-baked goodness. What makes a clay pie so special is its humble ingredients – usually just flour, sugar, butter, and water – transformed into something truly magical. The magic lies in the technique, creating a slightly chewy, slightly crisp crust that encases a subtly sweet filling. It’s the perfect dessert when you want something grounding and delicious, without any fuss. Get ready to bake up a slice of pure comfort!
How to Make a Clay Pie
Welcome to this fun and delicious-looking tutorial on how to create your very own miniature clay pie! These little treats are perfect for dollhouses, miniature scenes, or even as unique charms and jewelry. We’ll be using polymer clay to achieve a realistic and mouthwatering effect. Get ready to unleash your inner baker and crafter!
Ingredients:
Instructions:
Phase 1: Preparing the Pie Crust
1. Start by taking a generous portion of your tan polymer clay. You want enough to fill your silver bottle cap and create a nice, thick crust. Roll this clay into a ball, then flatten it into a disc. The size of the disc will depend on the size of your bottle cap. Aim for a disc that is slightly larger than the opening of the bottle cap, as you’ll need some excess to press up the sides.
Now, carefully press the flattened tan clay disc into the silver bottle cap. Gently coax the clay up the sides of the cap, ensuring it adheres well and creates a smooth, even edge. This will form the outer shell of your pie crust. Don’t worry if there’s a little excess clay sticking out over the rim; you can trim this later for a neater finish. It’s important to get a good seal against the cap, as this will prevent your filling from leaking out during the baking process (and in our case, when you cure the clay). If the clay feels a bit stiff, you can knead it a bit in your hands to warm it up and make it more pliable.
Phase 2: Adding the Filling
2. Next, it’s time to create our delicious pie filling. For this tutorial, we’ll be using red polymer clay, but feel free to experiment with other colours like blue, purple, or even a marbled effect for different fruit fillings! Take a piece of your chosen filling clay and roll it into a ball. Flatten this ball slightly, then place it into the tan clay-lined bottle cap.
You don’t need to fill the cap completely to the brim just yet. Leave a little space, about a millimetre or two, from the top edge. This is crucial because we’ll be adding a texture to the filling that will make it look more realistic and slightly less flat. Imagin extracte a bubbling, warm pie; the filling often rises a little. You can gently press the filling down with your finger or a smooth tool to ensure it’s evenly distributed within the crust. If you’re using a different colour for your filling, now is the time to get creative. For example, to make a blueberry pie, you might mix in tiny balls of dark blue and purple clay to simulate individual berries.
Phase 3: Texturing and Detailing the Filling
3. Now for the fun part: making our filling look realistic! For a fruit pie filling, we want to mimic the slightly bubbly, sometimes uneven texture you see in a real baked pie. You can achieve this by gently pressing your fingertip or a pointed tool (like a toothpick or a ball stylus) into the surface of the filling. Create small indentations and ripples, as if the filling has been gently bubbling while baking.
Don’t overdo it; subtle textures are often more effective. You can also use a small brush or a soft sponge to lightly dab at the surface, creating a more organic, less perfectly smooth appearance. If you want to simulate a jammy filling, you can even add a few tiny, irregular bumps. For a more realistic berry pie, you could use a fine-tipped tool to create tiny dots and swirls that resemble crushed fruit. The goal is to break up the perfect smoothness of the raw clay and give it a more natural, cooked look.
Phase 4: Creating a Realistic Crust Texture
4. With our filling in place, we need to work on the pie crust’s texture. Take your two shades of brown soft pastels. Using a fine brush or a cotton swab, gently rub a small amount of the darker brown pastel around the outer edge of the tan crust, focusing on the part that extends slightly over the bottle cap. Then, lightly blend in some of the lighter brown pastel over the top surface of the tan crust, focusing on the raised edges. The pastels will adhere to the polymer clay and give it a baked, slightly browned appearance.
This dry brushing technique is fantastic for adding subtle shading and depth. Be sparing at first; you can always add more. You want to simulate the natural browning that happens during baking, especially around the edges where the crust might be a little crispier. If you accidentally apply too much, you can try to gently brush some of it away with a clean, dry brush. Another tip is to use a slightly damp brush to blend the pastels for a softer effect. For a more rustic pie, you can even add a few darker speckles to mimic burnt bits.
Phase 5: Baking and Finishing Your Pie
5. Once you’re happy with the appearance of your clay pie, it’s time to cure the polymer clay. Follow the instructions on your specific brand of polymer clay for baking temperatures and times. Typically, this involves baking in a conventional oven at a relatively low temperature for about 15-30 minutes, depending on the size of your piece. Make sure your oven is preheated to the correct temperature. It’s also a good idea to place your clay pies on a baking sheet lined with parchment paper to prevent sticking.
After baking, allow your clay pie to cool completely. Once cooled, you can add any final touches. If you want a glossy finish, you can apply a thin layer of transparent polymer clay glaze or a clear sealant. This will make your pie look even more realistic, as if it has a fresh glaze on top. For a slightly more matte finish, you can lightly buff the surface with a soft cloth. And there you have it – your very own adorable, miniature clay pie, ready to be displayed or used in your creative projects! You can even drill a small hole in the side of the bottle cap before baking if you wish to turn it into a pendant or charm.
Conclusion:
And there you have it! You’ve now learned how to make a truly unique and delightful clay pie. This recipe is wonderful because it’s not only a fun and engagin extractg activity, but it also results in a beautiful, decorative piece that can be a charming addition to your home or a thoughtful handmade gift. The tactile experience of working with the clay, shaping it into a pie form, and then decorating it is incredibly rewarding. We hope you’ve enjoyed this creative journey.
Once your clay pie is fully dry and you’ve finished any painting or sealing, it’s ready to be displayed! Consider placing it on a mantelpiece, a shelf, or even as a centerpiece for a rustic-themed gathering. For an added touch, you could present it on a small doily or a decorative plate. Don’t be afraid to get creative with your toppings – think sculpted fruits, delicate pastry swirls, or even tiny edible-looking decorations. This clay pie recipe is incredibly versatile; feel free to experiment with different sizes, depths, and decorative elements to make it uniquely yours. We strongly encourage you to give this a try – it’s a fantastic way to unleash your inner artist and create something truly special.
Frequently Asked Questions:
Can I make a clay pie that is food-safe?
This particular recipe is for a decorative clay pie and is not designed to be food-safe. The clay itself, once fired (if you choose to fire it) or air-dried, is not meant for consumption. If you’re looking for a pie-making experience that involves edible components, you might consider a traditional baking recipe. However, for a lasting artistic creation, this clay method is perfect.
What kind of clay is best for this project?
For this type of craft, air-dry clay is an excellent choice as it doesn’t require a kiln and is readily available. Polymer clay is also a great option if you have access to an oven for baking it, as it provides a very durable finish. Whichever you choose, ensure it’s pliable and easy to work with for shaping and detailing your clay pie.
How long does it take for a clay pie to dry?
The drying time can vary depending on the thickness of your clay pie and the humidity of your environment. Generally, air-dry clay can take anywhere from 24 to 72 hours to dry completely. Thicker sections will naturally take longer. You’ll know it’s dry when it feels hard to the touch and has no cool spots.
How to Make a Clay Pie
A simple guide to crafting a realistic-looking clay pie, perfect for miniature crafts or display.
Ingredients
-
Tan Polymer clay
-
Silver bottle cap(s)
-
Red Polymer clay
-
Soft pastels (2 shades of brown)
-
Sculpting tool
-
Oven
-
Parchment paper
Instructions
-
Step 1
Condition and roll out a piece of Tan Polymer clay to form the pie crust. Use a circular cutter or a bottle cap as a guide for size. -
Step 2
Gently press the Tan Polymer clay into the silver bottle cap, creating a pie dish shape. Trim any excess clay. -
Step 3
Roll out and cut a piece of Red Polymer clay for the pie filling. If desired, you can add texture or swirl colors. -
Step 4
Carefully place the Red Polymer clay filling into the pie crust within the bottle cap. -
Step 5
Use a sculpting tool to create pie crust edges and any desired decorative elements. -
Step 6
Lightly brush the edges of the pie crust with the 2 shades of brown soft pastels to create a baked appearance. -
Step 7
Place the clay pie on a piece of parchment paper on a baking sheet. Bake according to the polymer clay manufacturer’s instructions (typically around 30 minutes at 275°F or 135°C). -
Step 8
Allow the clay pie to cool completely before handling.
Important Information
Nutrition Facts (Per Serving)
It is important to consider this information as approximate and not to use it as definitive health advice.
Allergy Information
Please check ingredients for potential allergens and consult a health professional if in doubt.